- Microsoft Word supports three types of horizontal lines to separate your document: thin, thick, and double, each accessible with a hotkey! (Use page breaks when you need "invisible" separations.)
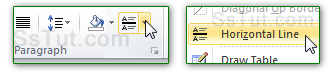
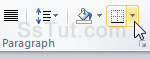
- For gray horizontal separators, click on the Border dropdown and pick "Horizontal Line":
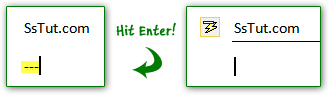
- To insert a simple border line, type "---" (three hyphens, in their own paragraph) and hit Enter:
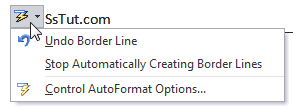
- Notice the AutoFormat / AutoCorrect button that appears on the left: click on it to Undo Border Line (which you can do by hitting Ctrl+Z), Stop Automatically Creating Border Lines, or access Control AutoFormat Options (both explained at the end of this tutorial).
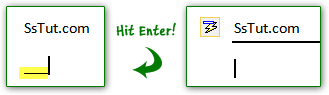
- To add a thick horizontal line, type "___" (three underscore characters) and then hit Enter:
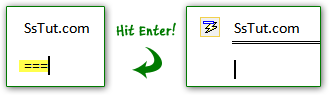
- To create a double line separator, type "===" (equal signs) on their own line, and hit Enter:
- FYI: Word also includes three additional line styles you're not so likely to use. • Type "***" (three asterisks) for a thick dotted line.
• Type "~~~" (three tilde characters, under the Esc key) for a wavy / squiggly line.
• Type "###" (three pound / hash signs) for a thin-thick-thin triple border.
• Hit Enter, and you'll get one of these three border styles:
- You can change border line colors by applying a different style (although they are tied to your text, changing font color or background will *not* affect them).
- Click on the dropdown arrow to expand the style swatches, and move above them to preview the appearance and color of your border lines (for many styles, the separator won't be visible).
Tip: for borders under paragraphs or headers, see text borders instead (much more flexible!)
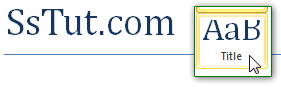
- You can also create custom, graphical border lines - here's one with a clipart image that ships with Word 2010, and another using a picture (the SsTut logo) from our computer: • Click on the Border button's dropdown arrow and choose "Borders and Shading" at the bottom.
 • Click on the "Horizontal Line" button (bottom left corner).
• Click on a swatch to use Office clipart; click on "Import" (bottom left) to use a picture from your PC.
• Click OK.
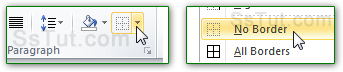
- To remove a horizontal line, place your cursor on the line of text just before it, and click on the Border button's dropdown arrow: select "No borders": (in some cases, the Delete key does it).
- To disable border lines: click on File (top left - same as Office logo in Word 2007) and choose Options. Select "Proofing" on the left, and click on the AutoCorrect Options button.


- Select the "AutoFormat as you type" tab; uncheck "Border lines" (2nd section); click OK.
Email AOL Mail Gmail Hotmail Yahoo Mail MS Office Excel 2010 OneNote 2010 Outlook 2010 Word 2010 OS & Devices Kindle Fire Windows 7 Web Dev C# and .NET JavaScript jQuery